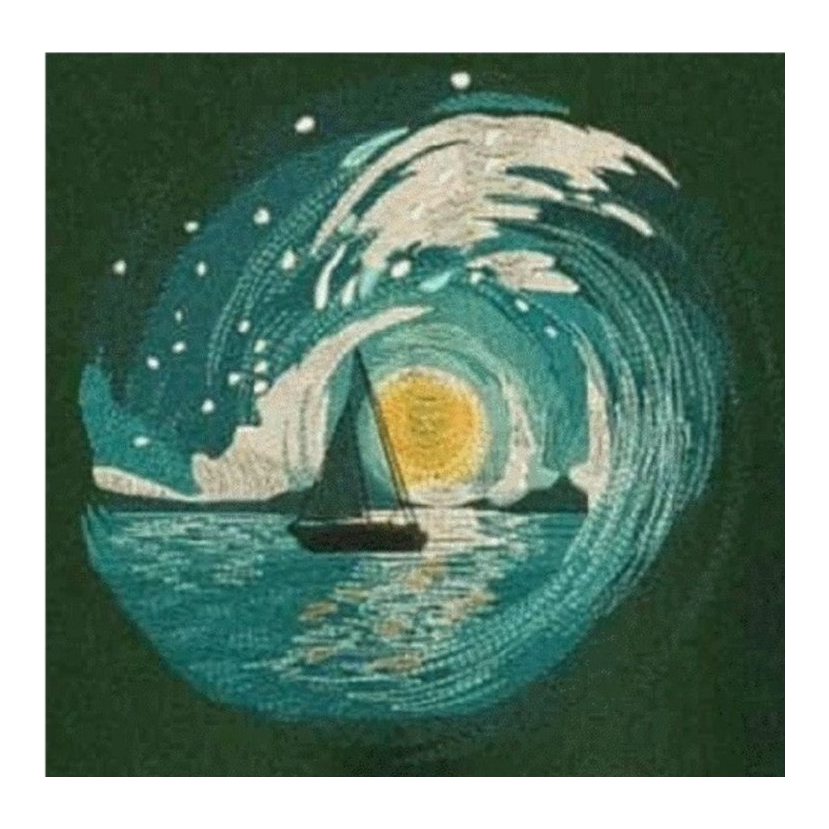
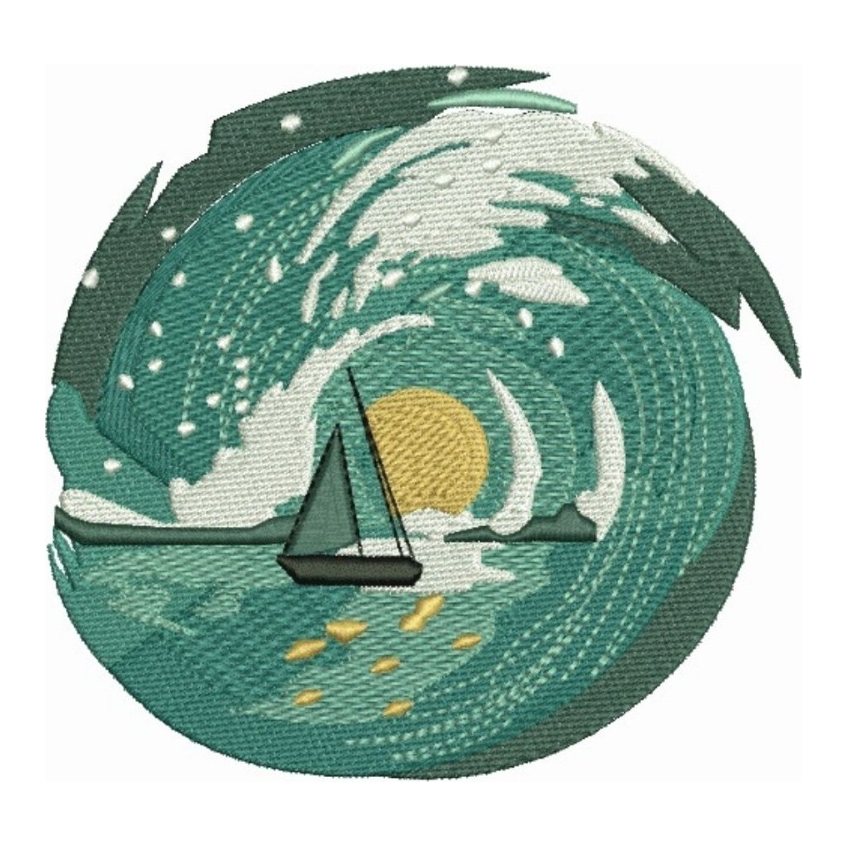
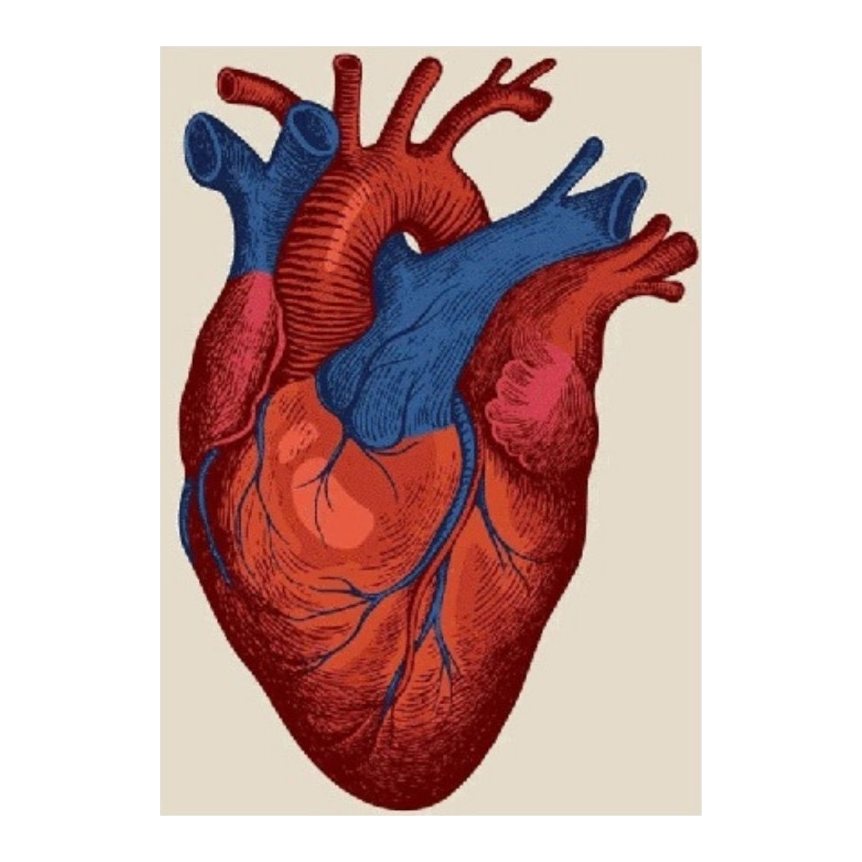
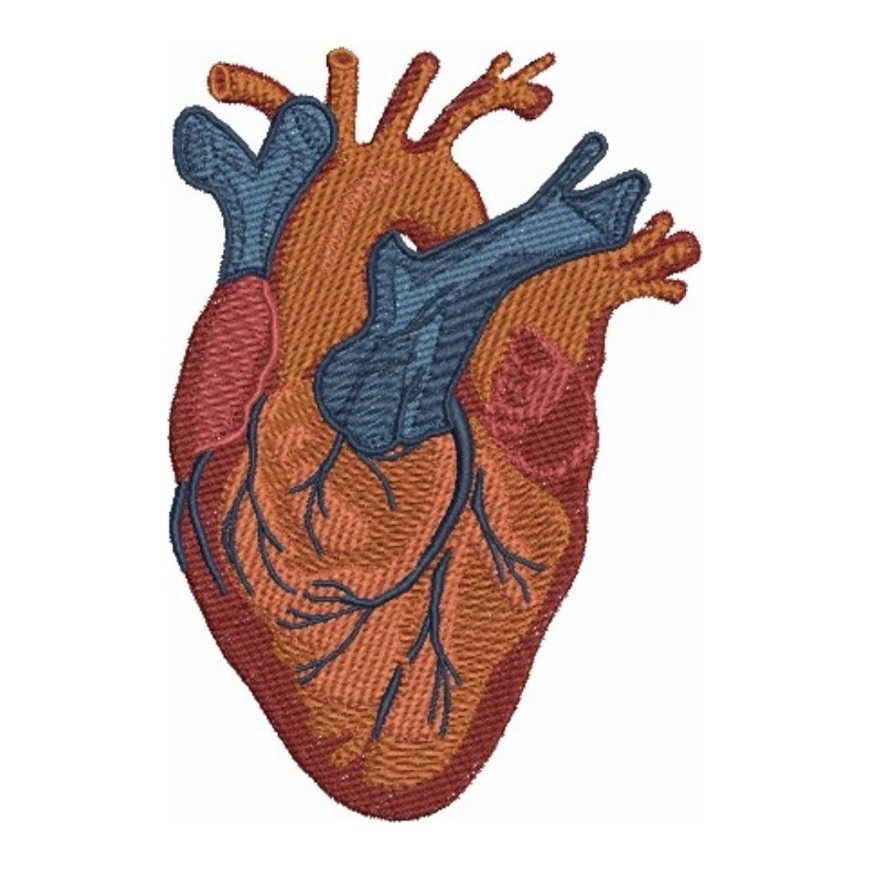
Can you convert a JPG straight to DST?
Not in a way that sews well. A JPG or PNG is a grid of colored pixels. A DST file is a list of needle movements: stitch coordinates in 0.1 mm units, plus jump, trim and color change commands. It does not even store thread colors. There is no direct translation between the two, because an image says nothing about which stitch type to use, which way the stitches should run, what goes underneath, or how the fabric will pull.
So when a website offers to convert a JPG to DST in one click, it is guessing. The file it produces will open on your machine, but the sew-out is another story. To convert PNG to DST properly, someone has to make those decisions for each shape, which is what digitizing is.
Why do auto converters fail?
Free online converters and the auto-digitize buttons in embroidery software trace the edges of colored pixel areas and fill them with a default stitch. That approach breaks down in predictable ways:
- They trace pixels, not shapes. Blurry edges, JPEG noise and anti-aliasing become jagged outlines and stray tiny objects.
- Wrong stitch types. Narrow shapes that should be satin get filled, and wide areas get satin that is too long to hold.
- One stitch direction. Every fill runs the same angle, so the design looks flat and pulls the fabric one way.
- No real underlay or pull compensation. Outlines drift away from fills and gaps open up once the fabric draws in.
- Bad density. Overlapping layers stack stitches until the design is stiff, puckers or breaks needles.
- Too many jumps and trims. The stitch path ignores sewing order, so the machine stops, trims and jumps constantly.
- Small text is lost. Letters under about half an inch come out as blobs.
Auto-digitizing can be a starting point for someone who knows how to clean it up, but it rarely gives production-ready files on its own. Our guide to auto digitizing vs manual digitizing compares the two in detail.
PNG to DST file converter vs a digitized file
| Online converter or auto-digitize | Manual digitizing | |
|---|---|---|
| How it is made | Software traces pixel colors | A digitizer builds each object by hand |
| Stitch types | Default fill almost everywhere | Satin, fill and run chosen per shape |
| Underlay and compensation | Generic or none | Set for your fabric and size |
| Sewing order | By color area, many jumps | Planned path, fewer trims |
| Small text | Usually unreadable | Built as proper lettering |
| Fabric and placement | Ignored | Cap, knit, towel or chest settings |
| Fix if it sews badly | You are on your own | Revisions and a sew-out guarantee |
How to convert an image to an embroidery file the right way
When you order from us, a digitizer uses your image as a guide and builds the stitch file from scratch:
- Review the artwork and size. We check what will hold up at your finished size and simplify tiny details or gradients that thread cannot show.
- Choose stitch types. Satin for text, borders and narrow shapes; fill for large areas; run stitches for fine detail.
- Set direction, underlay and density. Each object gets its own stitch angle, underlay and density for your fabric.
- Add pull compensation. Shapes are widened slightly so they sew at the size you see.
- Plan the sewing sequence. Objects run in an order that avoids gaps, reduces trims and sews center-out where it helps.
- Export every format. You get DST, PES and the rest, plus a stitch simulation proof and a PDF worksheet.
This is how we convert a logo to an embroidery file for any placement, from a left chest to a jacket back.
How do I turn a picture into an embroidery file?
You have three realistic options:
- Digitize it yourself in embroidery software. It takes time to learn, but it gives you full control.
- Use auto-digitizing and clean up the result. Fine for simple shapes and personal projects, weak for logos and text.
- Have it digitized. Upload the picture, give the size and fabric, and get a finished file back.
Photos are a special case. Thread cannot show smooth gradients or fine shading the way print can, so photos are usually simplified into a few clean color areas or converted to a line drawing style first. Send the photo and tell us the look you want, and we will say honestly what embroidery can do with it.
JPG to PES, DST and every other format
You do not have to pick one format. Every embroidery order includes the common machine formats, so the same design works on commercial and home machines:
- DST for Tajima and most commercial multi-needle machines.
- PES for Brother and Baby Lock home and multi-needle machines.
- EXP for Melco and Bernina.
- JEF for Janome, VP3 for Husqvarna Viking and Pfaff, XXX for Singer, plus HUS and VIP.
- PXF, and EMB or ART working files, on request.
So a JPG to PES order and a JPG to DST order are the same order. Download whichever your machine reads.
PDF to DST
PDF artwork is welcome, and a PDF exported from a design program often contains clean vector shapes, which is the best starting point for digitizing. The same goes for AI, EPS and SVG files.
Already have a stitch file and just need it in a different format, such as PES to DST? That is a file conversion, not image digitizing. See embroidery file conversion.
What image to send
We accept JPG, PNG, PDF, AI, EPS, SVG, PSD and ZIP. The better the artwork, the closer the file matches it:
- Vector files (AI, EPS, SVG, PDF) are best.
- For JPG or PNG, send the largest, sharpest version you have, not a screenshot or social media image.
- If a logo is only available as a photo of a sign or shirt, send it anyway. We redraw from what we can see and ask about anything unclear.
Our guide to artwork for embroidery digitizing covers resolution, colors and text in more detail.
Price to convert PNG to DST or JPG to PES
You pay a flat price by finished size, with every format included:
- Up to 4.5 in: $14
- Up to 8 in: $24
- Up to 12 in: $39
- Over 12 in: $55
Standard turnaround is 24 hours, rush 12 hours and express 6 hours. New customers get their first design free up to $24 of design value.
Have a JPG, PNG or PDF logo? Upload it now, see the price before you submit, and pay only after you approve the proof.
How to order
- Create your account in the order form and upload your image.
- Enter the finished size, placement and fabric.
- Pick your turnaround and check the price, then submit.
- Review the stitch simulation proof and worksheet. Ask for changes as many times as you need.
- Approve, pay by PayPal, card, bank payment or credits, and download DST, PES and every other format.